A USB-Stick is required! DO NOT skip a single step otherwise it will not work!
1. Follow the General Setup Steps #
Please follow the common setup steps first.
2. Deactivate SmartScreen #
- Open Windows Security
- Open App & browser control Tab
- Open Reputation-base protection settings
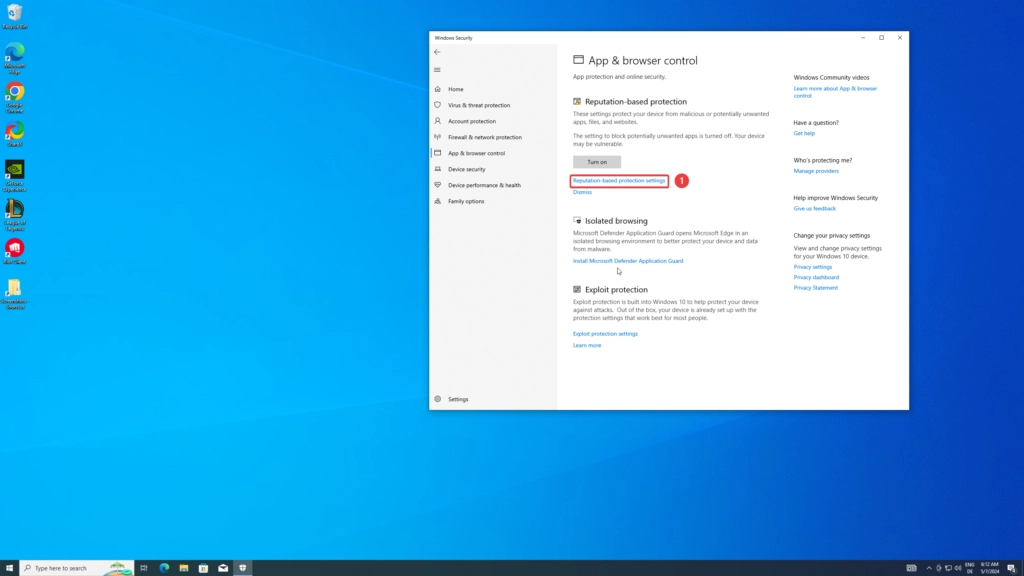
- Disable Check apps and files
3. Deactivate Windows UAC #
- Search for Change User Account Control settings in the Windows search
- Set the controller to never notify and confirm with OK
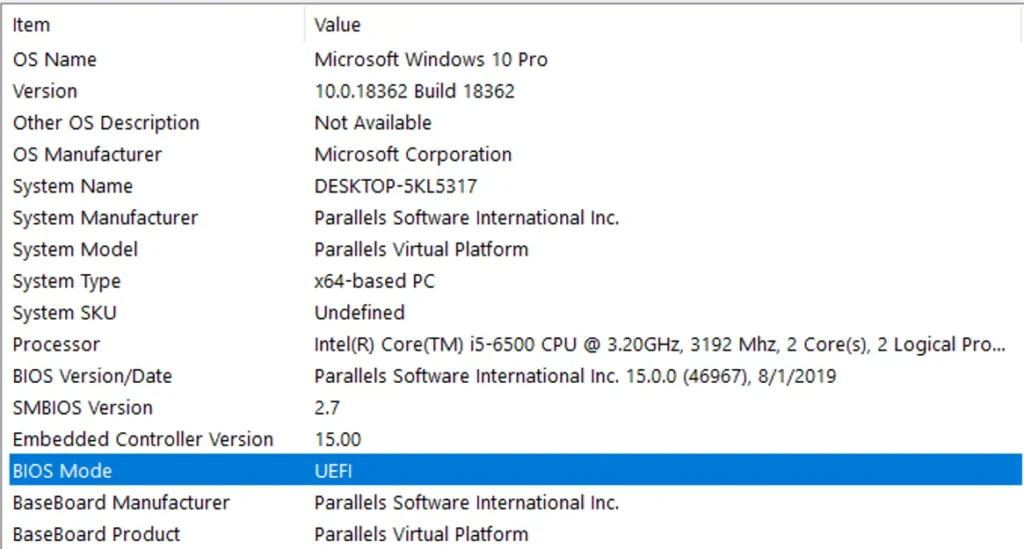
4. Check BIOS Mode is UEFI #
The bios must be set to UEFI, otherwise Windows has to be reinstalled with UEFI.
To check which bios mode is activated follow these steps:
- Click the Search icon on the Taskbar and type in
msinfo32, then press Enter.
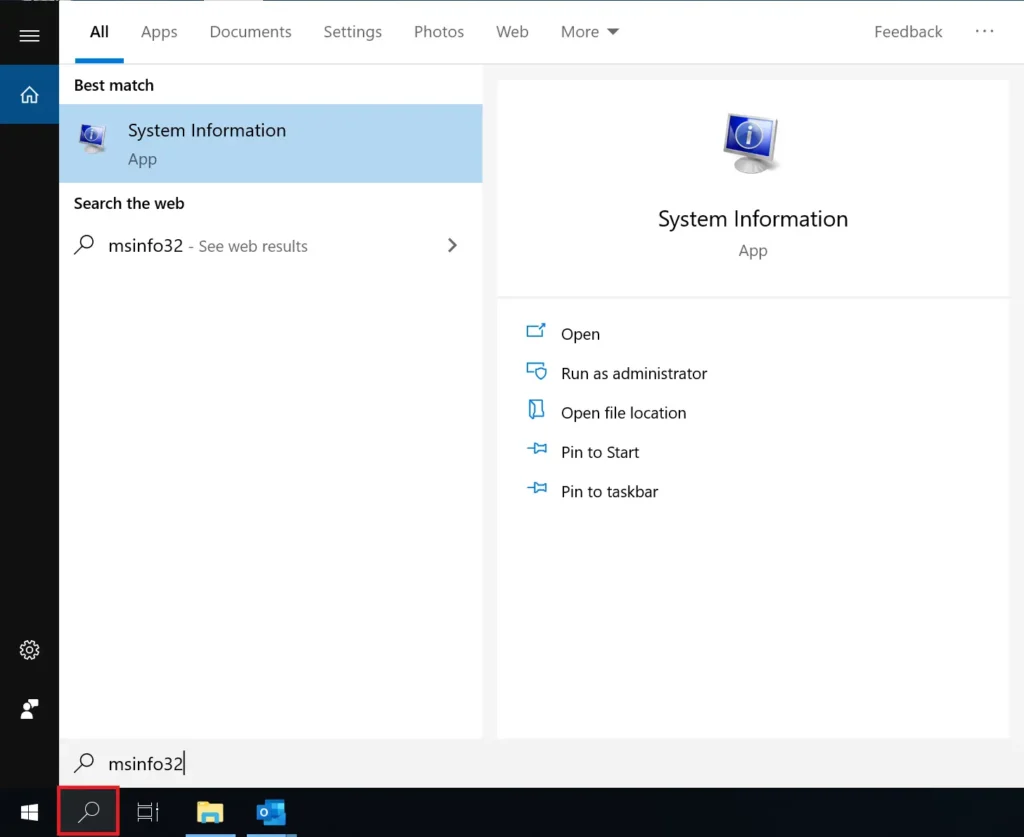
- System Information window will open. Click on the System Summary item.
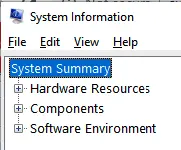
- Then locate BIOS Mode and check the type of BIOS, Legacy or UEFI.
5. Configure Bios #
While bootup you´ve to go into your BIOS to make a small change. This you can archive by pressing a specific key while the system is booting up. Most common is DEL or F2, but here are some Hotkeys for some Mainboards:
- ASRock: F2 or DEL
- ASUS: F2 for all PCs, F2 or DEL for Motherboards
- Acer: F2 or DEL
- Dell: F2 or F12
- ECS: DEL
- Gigabyte / Aorus: F2 or DEL
- HP: F10
- Lenovo (Consumer Laptops): F2 or Fn + F2
- Lenovo (Desktops): F1
- Lenovo (ThinkPads): Enter then F1.
- MSI: DEL for motherboards and PCs
- Microsoft Surface Tablets: Press and hold volume up button.
- Origin PC: F2
- Samsung: F2
- Toshiba: F2
- Zotac: DEL
When you´re inside the BIOS please make these changes depending on your BIOS:
INTEL BIOS
- Disable VT-x / VT-d (CPU Virtualization) in your BIOS
- DISABLE Secure Boot
- DISABLE CSM Support (or switch CSM to UEFI)
AMD BIOS
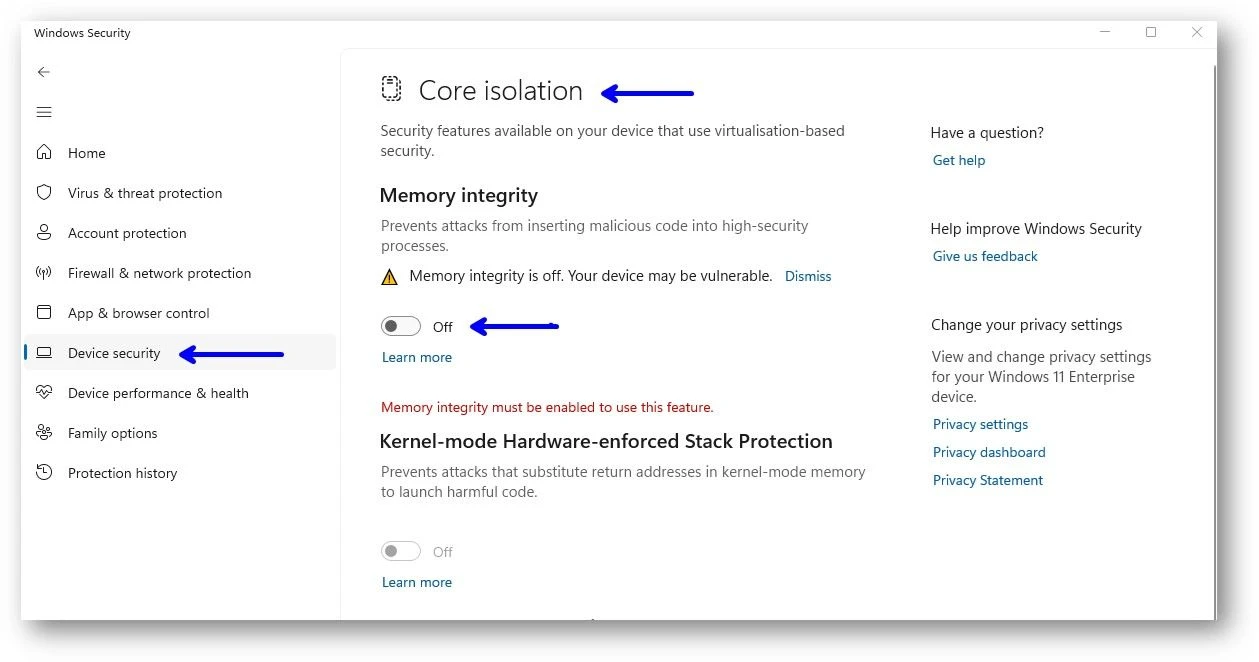
6. Disable Memory Integrity #
- Select Start , enter ‘Core Isolation’ in the taskbar, and select Core Isolation from the list of results to open the Windows security app.
- On the Core isolation page, turn off the toggle for Memory integrity. You might need to restart your device.