Learn how to acquire these invaluable materials with our Rust nodes guide.
Besides wood, there are three basic materials that are needed to progress in Rust. From buildings and tools to weapons and ammunition, the trinity of stone, metal, and sulfur is crucial for building yourself up and your fortress.
There are various methods to acquire these resources but the most common, practical, and rewarding one is by mining nodes.
What are nodes and which is which? How do you collect resources from them? And what is the most efficient way of harvesting these nodes? In this guide, I’ll walk you through the basics of Rust and teach you all about the three types of nodes.
What are Nodes in Rust?
Nodes are resource-rich rocks found throughout the map in Rust. They are the primary source of stone ore, metal ore, and sulfur ore and play a vital part in Rust’s resource economy. They are shaped and sized similarly but each type has different colors.
They can often be found scattered in various locations including rocky terrains, mountainsides, and open fields. But they are especially abundant in snowy mountains. Each node provides a different resource so you need to be able to identify them.
Rust Nodes Guide: Different Types of Nodes
Here are the three types of nodes in Rust and how to identify each.
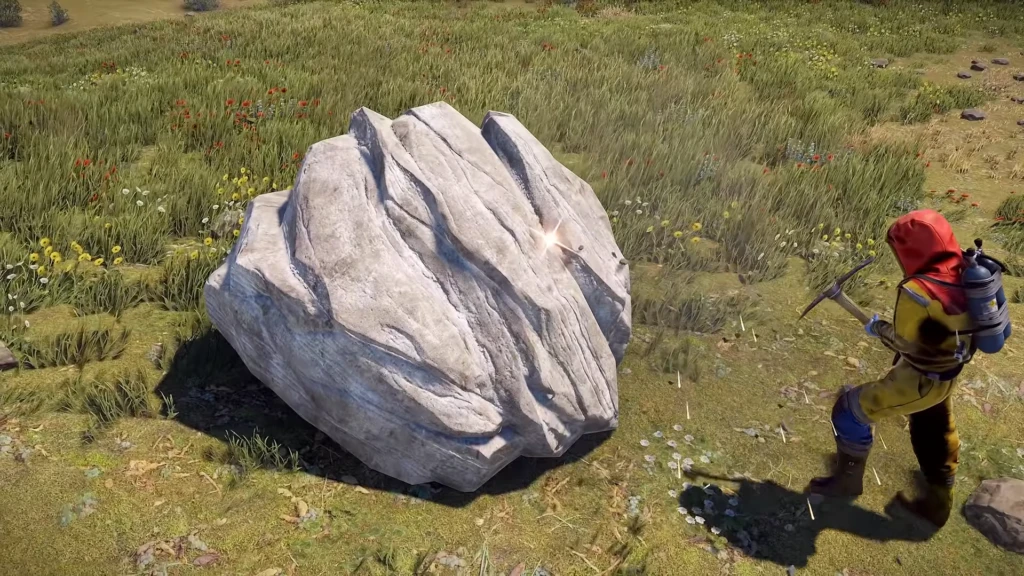
Stone Nodes
Stone nodes are grayish, smooth rocks with small white streaks. This node primarily yields Stones and can be collected using Pickaxes or a Jackhammer. Stones are essential for building base structures, crafting stone tools, and making high-quality ammunition.
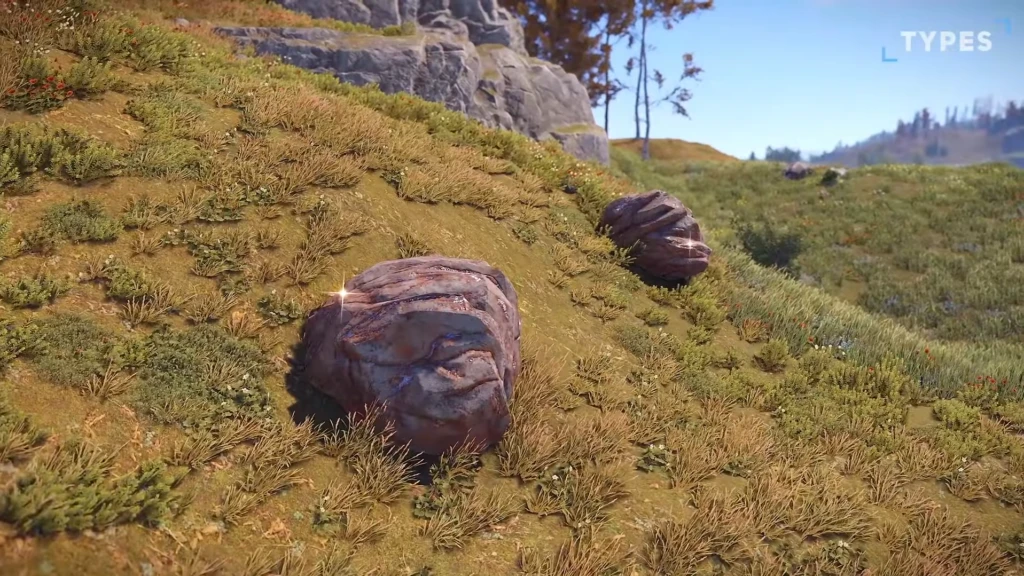
Metal Nodes
Metal Nodes are the same size as the other nodes. But they have a distinct brown color and a metallic sheen. This node yields metal ore and it can be smelted and used for crafting advanced items like weapons, armor, and base reinforcements.
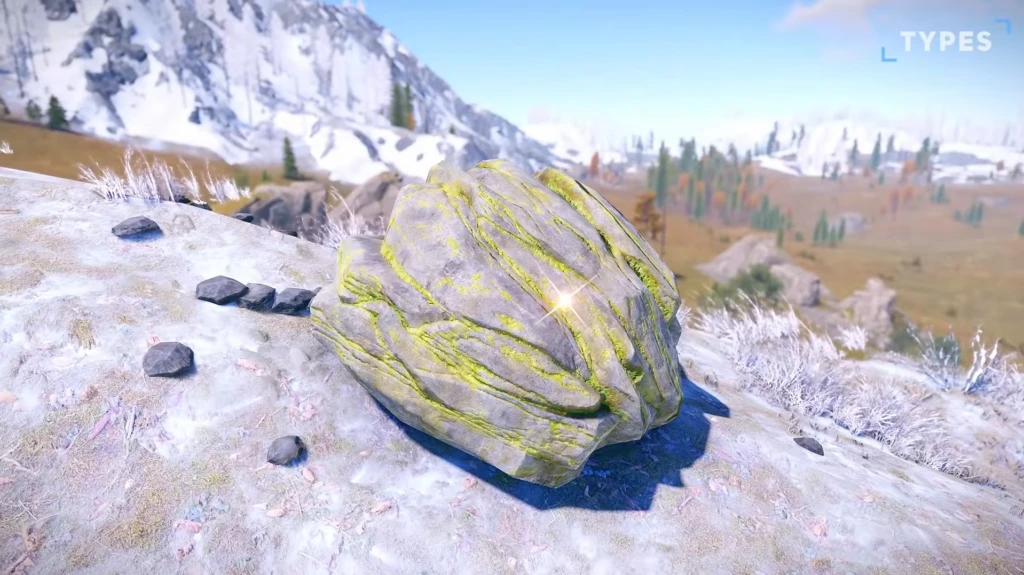
Sulfur Nodes
Sulfur Nodes look like stone nodes from afar, but upon closer inspection, they have visible greenish sulfur deposits. It yields sulfur ore which can then be smelted into sulfur. This resource is used in making gunpowder and all sorts of ammunition and explosives.
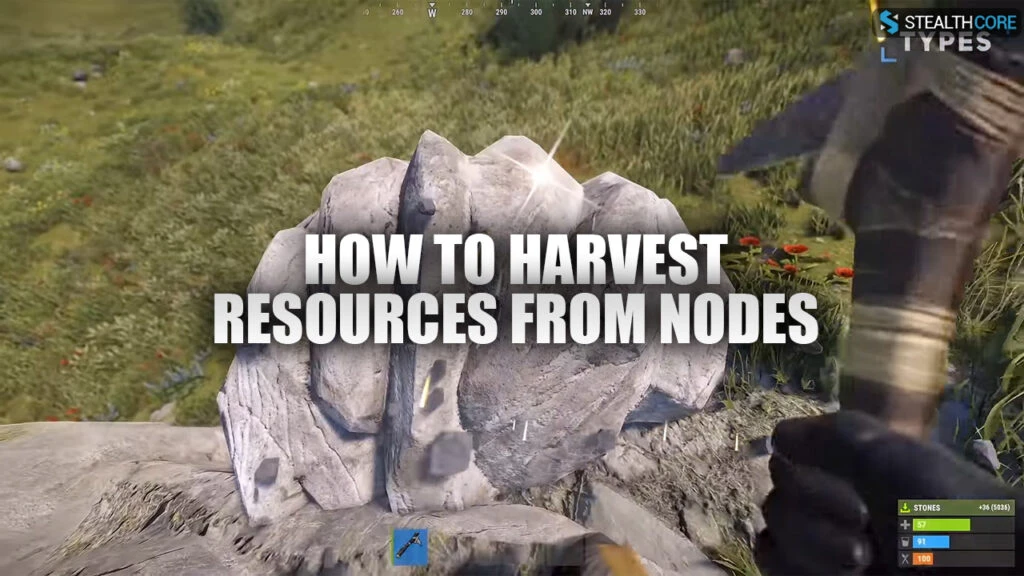
How to Harvest Resources from Nodes
Now that you can identify nodes in Rust, the next thing to do is harvest them or collect their resources. This process involves the use of tools to break the nodes and get the resources.
When I first started playing Rust, I immediately noticed the glowing spots in the nodes. This spot is often referred to as the node’s weak spot. Hitting this with your tool will significantly increase your yield and shorten the total harvest time. So always aim for that glowing spot for maximum effeciency.
Tools for Mining Nodes
Different tools have different costs and efficiency, so your choice is very important. Here are the various mining tools in Rust and their advantages.
- Stone Pickaxe: The most basic ore harvesting tool. This pickaxe can be crafted using only wood and stones and without a workbench. You can harvest all three nodes using a stone pickaxe. It yields more resources than a stone but is slower compared to the next tools.
- Pickaxe: The metal pickaxe or more commonly known as just the pickaxe yields more resources and is faster than a stone pickaxe. With some wood and metal fragments, you can craft this tool. But you need to research it first. You can also get it from toolboxes or purchase it from Outpost.
- Jackhammer: The ultimate tool for mining nodes in Rust. The Jackhammer can instantly harvest an entire node in a few seconds. You can buy it in Outpost or find it in loot boxes. However you should remember that you can’t research purchased items.
Did you know?: The Pickaxe is one of the best melee weapons in the early game as it boasts more DPS (Damage per Second) than a revolver.
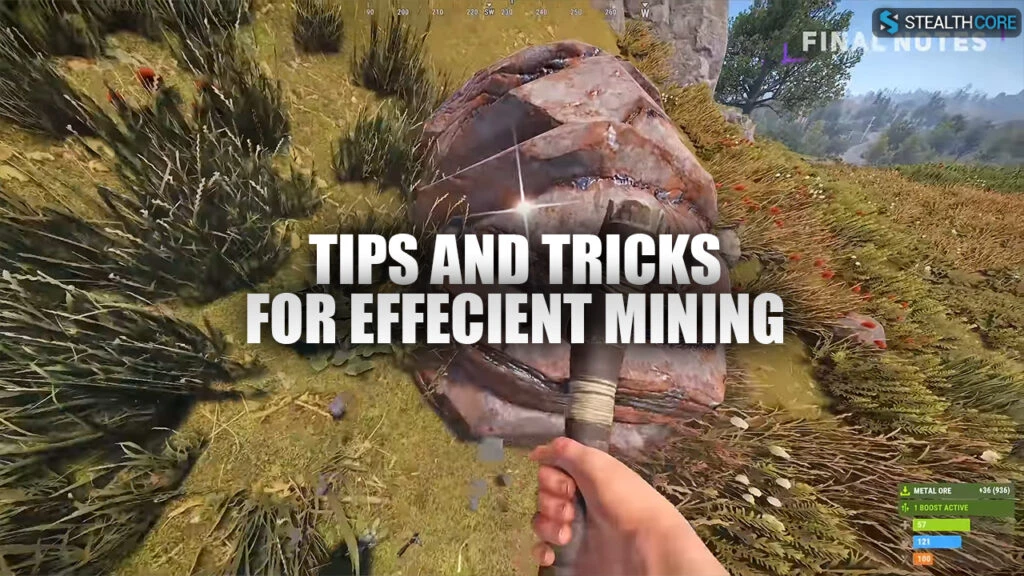
Tip and Tricks for Effecient Mining in Rust
Mining is an easy task but it also comes with risks. Harvesting resources from nodes attract attention especially in hotspots. So here are useful tips and tricks that will help you make the most out of you mining trips.
- Mine near your base. Mining within the safety radius of your base will allow you to dewposit resources faster and run for cover more quickly in case someone attacks you. This is why I always build my base on an area with lots of nodes if possible.
- Buddy up. Having a partner that watches your back while you mine will increase your chances of survival significantly and prevents ambushes.
- Avoid high-traffic areas. Monuments and the surrounding areas are hotspots for players. So it’s best to avoid them when you are mining. When transferring resources back to your base, be more cautious and alert. You don’t know how many times I’ve been ambushed with an inventory full of ores on my way home.
Conclusion
That wraps it up for our Rust nodes guide. Now you have a complete understanding of what nodes in Rust are, their reousrces, their uses, and how you can harvest them safely and effeciently. It’s time to grab your pickaxe and start mining.
If you want to get the best loots in the game, it’s time for you to chekc out our Rust hack. The aimbot and ESP tool that comes with it will allow you to locate all the great loot in the game and detect any nearby enemies that try to ambush you.