Still losing to this trio? Learn how to defeat the Goons in Tarkov with our boss guide!
Many players found it hard to take down The Goons in Escape from Tarkov. These guys are some of the toughest AI opponents in the game, and if you’re hunting them for the Stray Dogs task or just want to clear them off a map, you really need a solid plan. I’ve fought them many times, and I’ve learned a few tricks that can help you survive the encounter.
In this tutorial, I’ll break down everything you need to know about defeating the Goons in Tarkov, including who they are, their spawn locations, their strengths, and the best strategies to use against them.

Who Are The Goons?
The Goons are a deadly trio of bosses in Tarkov—Knight, Big Pipe, and Birdeye.
Unlike other bosses who usually stick to one area, these guys move and fight together, making them far more dangerous. If you run into one, you can bet the other two are close by, ready to flank and eliminate you in seconds. Unlike other solo bosses like Killa or Shturman, The Goons require situational awareness, strong positioning, and serious firepower.
Knight – The Tank of the Group
- Role: The squad leader and frontline fighter.
- Armor and Health:
- Wears high-level armor that soaks up bullets.
- Has a massive health pool of 1,120 HP, making him tough to kill.
- Tactics:
- He pushes aggressively but doesn’t just run in blindly.
- Expect him to take cover and play smart, forcing you into bad engagements.
Big Pipe – The Explosives Expert
- Role: The wild card of the group, bringing chaos with his explosives.
- Armor and Mobility
- Wears class 5 Zhuk-6a Heavy Armor (chest and stomach)
- Moderate speed, aggressive playstyle, uses M32A1 grenade launcher.
- Tactics:
- Loves to flush players out with grenades and explosions.
- If you hear multiple explosions going off nearby, chances are he’s close.
- Can instantly kill you if you’re caught out in the open.
Birdeye – The Sniper and Scout
- Role: The group’s long-range threat, specializing in ambushes.
- Armor and Mobility:
- Wears level 4 armor (or sometimes none at all), making him easier to kill compared to the others.
- Has silent footsteps, meaning he can sneak up and ambush you without warning.
- Tactics:
- Loves setting up in elevated or hidden positions, watching over the battlefield.
- If you’re distracted fighting the others, he’ll pick you off from a distance.
- Be extra cautious when moving through open areas.
Why Are The Goons So Dangerous?
- They fight as a team, covering each other and forcing you into tough situations.
- They have a mix of fighting styles—Knight pushes aggressively, Big Pipe flushes players out with grenades, and Birdeye snipes from a distance.
- These bosses are unpredictable, moving between different maps and ambushing unsuspecting players.
Best Ammo and Weapons to Use
These bosses have high health pools and strong armor, meaning you need rounds that can penetrate effectively and take them down before they have a chance to react.
Best Ammo to Use
- For Knight & Big Pipe:
- 7.62x51mm M80 or M62 rounds – These rounds can one-tap their heads and deal solid damage to the thorax if necessary.
- M61 and M993 rounds – If you have access to these, they can tear through their armor even faster. However, they are expensive and harder to come by early in the wipe.
- For Birdeye:
- Since he wears level 4 armor (or sometimes none at all), M80 rounds will be sufficient to take him out efficiently.
- If you want extra security, using M62 rounds can ensure he drops even quicker.
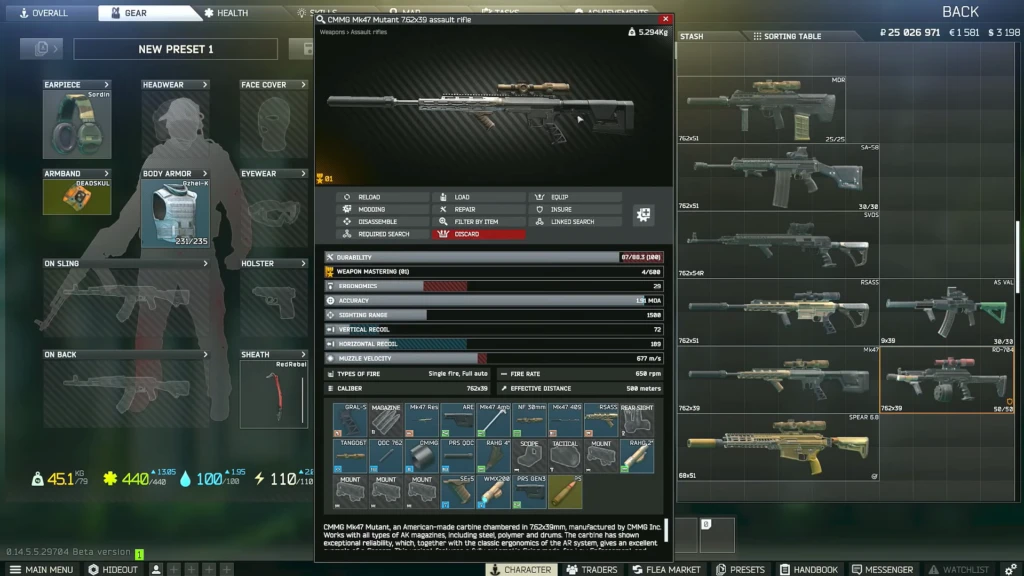
Best Weapons to Use
- DMRs (Designated Marksman Rifles):
- RSASS, SR-25, and Mk-17 – These semi-auto rifles offer high accuracy and hard-hitting rounds, making them perfect for engaging The Goons at mid-to-long range.
- If you can land your shots quickly, these weapons allow you to take down The Goons before they have a chance to react.
- Full-Auto Battle Rifles:
- SA-58, MDR (7.62 variant), and HK417 – These rifles pack a punch while allowing you to lay down sustained fire if needed.
- They work best when fighting Knight and Big Pipe, as both can tank a few hits before going down.
- Bolt-Action Snipers?
- Not the best idea. While a well-placed headshot from a Mosin with 7N1 rounds or an M700 with M62 can work, The Goons move unpredictably. Missing your first shot could mean death.
- Shotguns and SMGs? Hard Pass.
- Unless you’re an absolute god who can land every pellet in their face, shotguns and SMGs won’t cut it.
- Their armor will absorb too much damage, and you’ll be left reloading while they mow you down.
Tips:
- Go for high-penetration ammo – M62, M80, or M61 rounds should be your go-to.
- Stick to rifles and DMRs – The Goons won’t give you the luxury of close-range fights.
- Kill them fast – The longer the fight drags on, the worse your odds get.
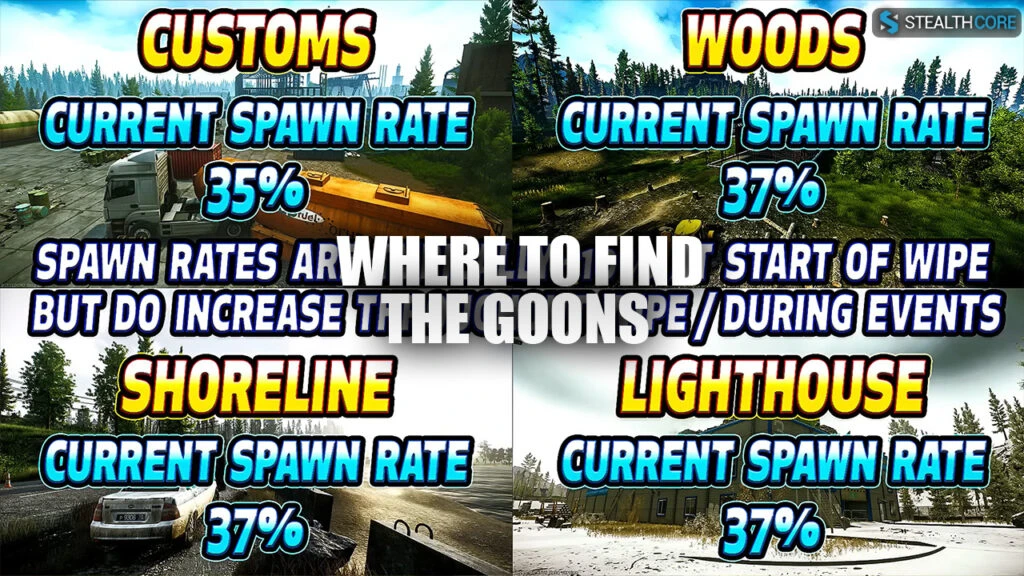
Where to Find The Goons
The Goons spawn on multiple maps, but their appearance isn’t guaranteed. Their spawn rate fluctuates throughout the wipe, starting as low as 8-10% and increasing over time.
Here’s where you can find them:
- Lighthouse – Their default map. You’ll usually find them near the Water Treatment Plant.
- Customs – Look around the Stronghold or Crackhouse area.
- Shoreline – Health Resort is a hot spot, especially around the East Wing.
- Woods – They spawn near the USEC camp or scav bunker.
Since they spawn at the start of the raid, you won’t have to worry about them appearing later. If they’re not there when you check, they simply didn’t spawn that raid. But if you want to skip the search, using a Goons tracker will help you immensely.
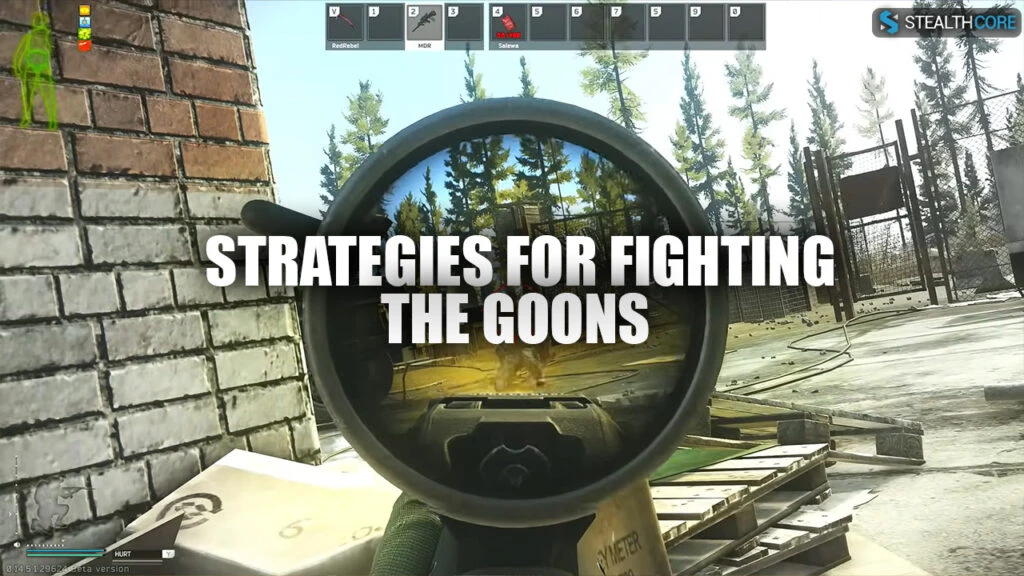
Strategies for Fighting The Goons
Now that you know where to find them, here is the real challenge—actually fighting them. They don’t behave like regular bosses, and taking them head-on is a mistake. Here’s how to handle them properly:
1. Always Use Cover
The Goons have insane accuracy, and if you’re caught out in the open, you’re dead. Fight from behind hard cover. Through walls, rocks, or buildings to minimize your exposure.
2. Engage from a Distance
These guys are incredibly aggressive and will push your position if they see you. If you have a sniper rifle or DMR, use it. The farther away you are, the better your chances of survival.
3. Isolate and Eliminate
Taking on all three at once is a death sentence. If possible, draw them out one by one. Throw a grenade or fire a shot to lure one away from the others. Birdeye, in particular, tends to move separately from Knight and Big Pipe, so take him out first if you can.
4. Listen for Audio Cues
Each Goon has unique voicelines. If you hear Knight or Big Pipe talking, they’re close. Also, pay attention to Birdeye’s nearly silent footsteps, he could be right behind you.
5. Be Ready for Aggressive Pushes
Once they’re aggroed, they’ll not stop pushing. If you’ve made contact with them, expect them to flank, rush, or reposition quickly. Use sound cues and pre-aim their likely approach.
Loot and Rewards
Defeating The Goons isn’t just about survival, it’s also about getting rich. These guys drop some of the best loot in the game.
- Weapons: High-tier rifles like the SCAR-H, MCX, RSASS, and SR-25.
- Armor: Level 5 plate carriers exclusive to The Goons.
- Keycards: They have a chance to drop any Labs keycard, including the rare Red Keycard. Always check their pockets and backpacks!
How to Defeat The Goons in Tarkov: Shoreline, Woods, Lighthouse & Customs Guide
1. The Goons on Shoreline
Shoreline is one of the most challenging maps to fight the Goons on, despite them having only one spawn location: Weather Station. Your approach heavily depends on their positioning and your spawn.
The best strategy is to enter the Weather Station and hold the bathroom area, where you can funnel them through the door. However, they rarely allow players to approach freely.
Approaching from Power Station Side
- Offers more cover while approaching, making it harder for Bird Eye to laser you from a distance.
- Use the boulders and terrain to draw their aggression and force them to rush.
- Once Knight and Big Pipe push, hold an angle and be ready for Bird Eye, who may stay back.
- Use grenades to flush out Bird Eye if he doesn’t push immediately.
Approaching from Pier Side
- Risky if they are already watching over the hill, as they may snipe you while approaching.
- If spotted, they may push down toward the pier.
- The terrain here has more uneven cover, making it harder to navigate and fight effectively.
Approaching from Railway Side
- The most dangerous route, as they can spot and shoot you from 300m away.
- This side offers the closest access to the Weather Station but has minimal cover.
- Bird Eye often sits in the tower, making long-range engagement tricky.
2. The Goons on Woods
On Woods, the Goons spawn between the Scav Bunker and Connex Overlook. Fighting them here requires careful positioning due to limited approaches.
Approaching from USEC Camp Side
- Utilize left-hand peeks from behind rocks to minimize exposure.
- After two Goons rush, use grenades to locate the remaining one.
- If you reach the Scav Bunker, hold the stairwell and funnel them down.
Approaching from Connex Overlook Side
- Dangerous if they spawn near the edge, as they have a clear line of sight.
- If you make it up the hill, use the rock ledge for a right-hand peak advantage.
- Use grenades to check if they are at the Scav Bunker before pushing.
3. The Goons on Lighthouse
Lighthouse has two spawn locations for the Goons: Blue Chalet and Water Treatment Plant.
Fighting at Blue Chalet
- Get inside the sauna room to funnel them in safely.
- Avoid approaching from Brown Chalet, as they may spot and engage you early.
- If coming from the village, use the detached kitchen house for cover.
Fighting at Water Treatment Plant
- Knight will likely rush you once you engage the Rogues.
- If they are present, reposition to Building Three.
- Hold angles inside the back rooms or back entrance to isolate engagements.
- Avoid exposing yourself to Rogue lines of sight.
4. The Goons on Customs
Customs is a preferred map for hunting the Goons due to its enclosed spaces and strategic buildings. They spawn in the Stronghold area but can also appear inside Crackhouse or Mechanic.
Fighting from Crackhouse
- Best to hold an angle from the second floor, as Bird Eye may sneak up through windows.
- Avoid large windows facing Fortress, as you can be shot from outside.
- The med room offers better cover and a defensive position against silent pushers.
Fighting from Mechanic
- Close the back door for an audio cue when they approach.
- This allows you to focus on one entrance and hold angles effectively.
- Provides more control over engagement, making it a safer option than Crackhouse.
5. General Tips
- Use painkillers before approaching to avoid being immobilized by leg shots.
- Throw grenades to force voice lines and locate them, but remember the cooldown.
- Prioritize killing Bird Eye first if possible, as he provides long-range cover for the team.
- Use buildings for funneling them into choke points, making fights more manageable.
Conclusion
Fighting The Goons in Tarkov is one of the toughest challenges in the game, but with the right preparation, it’s absolutely doable. Knowing where they spawn, what weapons they use, and how to counter them will give you the edge you need.
Hopefully, this guide helps you survive and come out with some amazing loot. Stay sharp, and happy hunting!